
... is almost finished!
So as you may have saw here and here, I got the board for free from Home Depot and then I drilled the holes in for the rope or string or whatever I will use.

I went over to my Step-Mom's place and used her electric sander (that was pretty cool since I had never used one and I think I will need to invest in one myself). I also used some leftover white paint from when she painted her shed.

Then I implemented this trick I saw online. After a few tries I had printed off the font I wanted in the right size and I turned it over to the back side and shaded over the words with a pencil.

After that, I put the paper right side up again and placed it on the board. I then traced the words with a pencil. When I lifted the paper up, the pencil from the backside had transferred onto the board. As you can see, it was very light which was good and bad. Good because if I don't quite go over it or I mark some where it won't really show up to other people and bad because I had a hard time seeing it! I had to take a lamp that had a spotlight and shine it on the board.

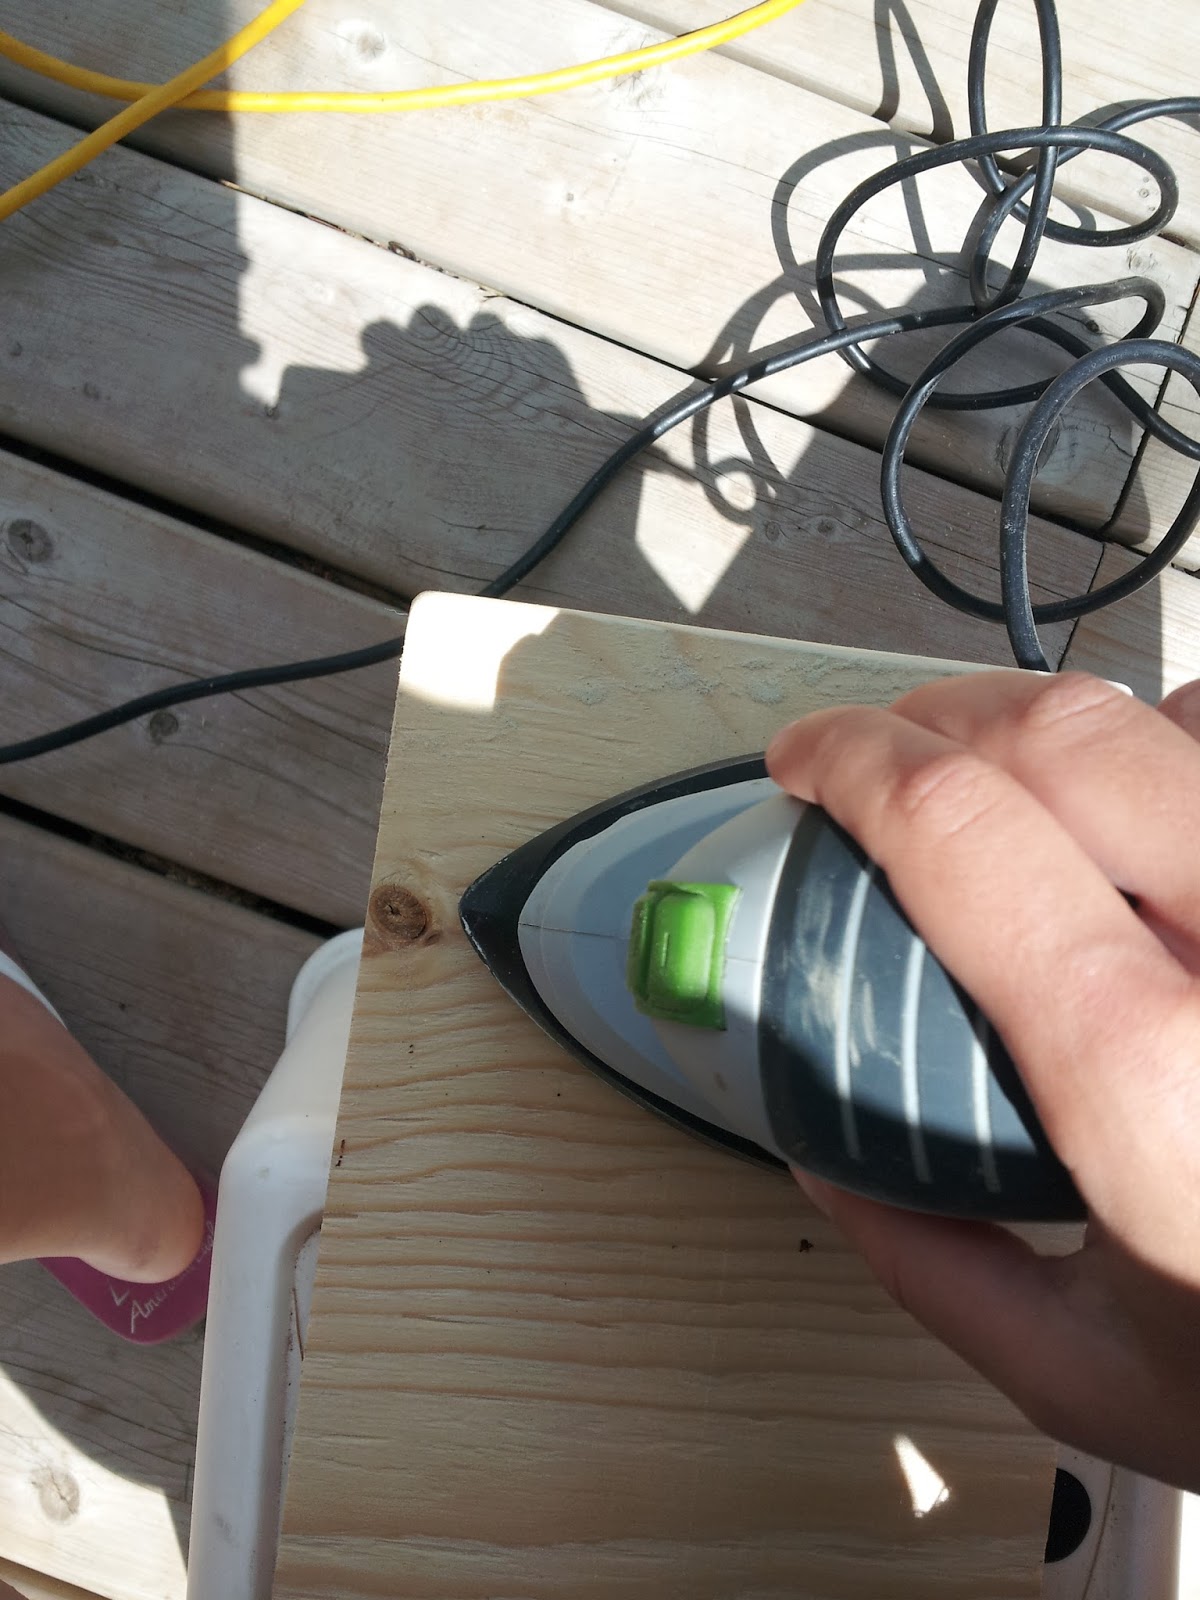
Here is a picture of me being all concentrated while doing it. I was very sure I was going to screw up.

After I did that, I took a black Sharpie and just traced the pencil and colored it in. Voila:

Because the pencil was so faint, Brandyn came in and thought I was doing this free hand. I wish! Now you may or may not be able to tell in the picture but I did screw up a bit. I won't point it out but if you don't see it then it basically proves this point: Don't worry about it if you do because when it is all done, it is hardly if not noticeable!
So yea now all I need to do is figure out what I'm going to put in those holes. Here are my options:
- White ribbon
- Pink ribbon
- Grey ribbon
- Rope (although Rope doesn't really match my theme much)
Let me know what you think or if you have any other suggestions!


No comments:
Post a Comment