Showing posts with label organization. Show all posts

Tuesday, March 18, 2014

Organizing the Coat Closet

As I have said before, all of my organizing posts will be going on my business website but that doesn't mean you will never hear about them. While I do recommend liking my Facebook Page for the business (I put out tips and tricks 3 times a week), I will still posts links to my own organizing projects that I do on here. 

I re-organized my coat closet because my original method just wasn't working. That can happen when organizing. Life is always revolving, changing, however you want to put it and because of that, your organizing needs will change to. Click here to see what wasn't working and what I did to make it work :) 


Tuesday, March 04, 2014

Bullet Journal

Over the past few months, I've been trying out a new way to use an "agenda." I did a whole post on it over on Lauren Ashley Organizing. Click here to read it!


Monday, January 13, 2014

Weekly Recap + an announcement!

**Read until the end because I have announcement!

This entire week I have been sick which is one of the main reasons I slacked on the blog and couldn't get a Youtube video up on Saturday. But besides sleeping until 5pm everyday, I did manage to power through and get some things done that I had previously been avoiding.


This obviously was not one of the tasks but I thought it was funny - Kitty and Gizmo love their new cat tree so much that they fight over it. This is not a permanent spot for it, I just put it there to make it easy to jump onto from the couch because it is quite tall. 


This is also what happened early on in the week and the week before - a crappy weather system. It was so cold but now when I see that it is 0 degrees, I'm like ... hey it is time to put my coat away! 


One of the tasks I started was addressing my invitations, I have them all printed and addressed now. I just need to wait for a special personal touch to come in the mail and I have to get the hotel room block sorted out which I am doing today.


Here are all the envelopes all addressed. Some people are going to be getting their invitations before others. I am sending anybody who lives out of province theirs the end of the month so that they have time to make arrangements. Anybody who lives far enough that they need a hotel will get theirs mid February and the rest I am sending out at the end of February.  Once they are all out, I will be doing a post on the invitations.


I also picked up the new Carrie Underwood collection of nail polish! I am wearing the pink one (Carnival Cotton Candy) and I love it!


And this is basically how I spent most of the week - watching Glee.

Not pictured here, but I did do it over the weekend was compile a list of makeup and hair professionals for the wedding. This was one thing I was seriously avoiding because it seemed like an overwhelming and hard task to me. Reasoning being that there is a lot of them, and they are not cheap. I decided upon a mobile service because we will be getting a hotel suite the night before the wedding. I would have had all my calls made by now but alas the illness won out and didn't get to the phoning part but I plan to do that this week!

And now for this big announcement! Over the past few months, I have hinted here and there of a new business venture. Well the website is up and I am ready to share now. I have started my own business as a Professional Organizer! I am not doing appointments just yet because I still have some administrative/legal stuff I want to get together but will let everyone know as soon as I am. In the meantime, my website is up and I will be doing all of my organizing posts on there! So head on over there and subscribe to my Facebook page to get all the organizing goodness that I am going to be sharing :) 

Facebook Page: http://on.fb.me/KTisqC


Friday, November 15, 2013

Organizing: Manual Binder

I've seen this cool way to store your manuals floating around Pinterest. Basically you just put them in paper sheet protectors and then put them in a binder. I tried this but what I found was that things with thicker manuals didn't fit and things would just fall out. So I took it a step up.

I got these slide lock binder pouches. They can hold up to 100 pages of paper so they have a lot of room in them. Not only do they fit normal sized papers but they also fit bulky things too including large manuals folded up! And nothing will fall out because it zips close :)


These tabs sit on the top and they stick on anything you put it on. The pouches are too big to put normal dividers so these work great!


Here are all the manuals for the kitchen appliances section. I put them in different pouches with like brands in the same pouch.


 I recommend a very pretty large binder depending on how many manuals there are. If there were any cords or extra plugs or anything, I put them in with the manual as well.


Wednesday, June 26, 2013

Organizing the Files


Once a year you should be going through your file folder (I sure hope you have one). So of course I went through mine and have decided to show you my process. 

We use just a regular file folder right now, nothing cute because we needed something cheap that works. We got this one from Staples. It is pretty standard.


While the file folder works, over a year, documents will build up that don't need to be there anymore. In other words, we don't need them at all anymore. This is what it looked like before I tackled it.


This file folder has all the tabs I feel are necessary for the basics. If you have your own business and such, you will want to get a separate one. 


As I go through it, I make sure to staple any documents that are together that are not well... together. This makes sure that if you ever need to pull them out, you aren't searching through all the documents in case one got lost.


Brandyn and I are with the same bank but we do not have a joint account (which is a personal decision I will talk about in another post). Because of this, I put the name on the outside of each of our folders that has our banking information in it. This just takes a step out of finding the information we need. Instead of taking out both folders and opening to see which bank account it is, we just see on the outside.


When it comes to paycheck stubs, after the taxes are done for that year, they are shredded. I take the T4s and staple them to the tax form for that year and file it under taxes. For the paystubs and anything needed for taxes for the current year, I paperclip them together (I do not staple because you will constantly be adding paystubs to this) and then I file under employment. Here shown is a T4 from when Brandyn quit his job after we moved. I find it comical that under the reason, they put "following spouse." 


While I am sorting through, I am also laying them out by category and in the order that they will be put in the file folder. Right now, my work space is my bed :)


Here are three piles that will not go back into the file folder. The right is Brandyn's school work, the middle is an instruction manual and that will go into my manuals binder and then the right is all things needing to be shredded. I highly suggest shredding because identity thiefs sift through your trash.


As you can see Brandyn's school work that he needs to keep is a pretty big pile. I needed somewhere to put them but I didn't want a bulky binder taking up space on my bookshelf. 


I found this at staples and basically it had dividers on the inside but I easily just pulled them out and placed the paper in. I needed two for this big pile. You could use a binder if you wanted but I am lacking space and I could easily store this in a box in the closet with my file folder.


 Here it is all cleaned up! Much better and there is no clutter or papers we don't need anymore. For the record, I do not keep credit card statements or bills after they are paid. All that stuff is easily accessible online.


Saturday, June 08, 2013

Organizing the Blog

There is one thing that keeps this blog rolling with posts every few days.... and that is organization. I come up with a lot of ideas and if I didn't schedule them or write them down somewhere I would definitely lose them. I didn't always have this system in place, in fact it is quite recent. 

I use microsoft office OneNote. It is seriously my favourite program. You can have all your tabs in one place. I have 2 separate "notebooks." One for work and one for personal. I used the work when I was in school for notes and stuff and the personal one has my blog, wedding, and other things I might find handy like a list of (expensive) shopping items I want to save for but don't want to forget about! 

So here is what my blog tab looks like:


I basically get a picture of the calendar month from the internet, plop it in there and then what is great about the OneNote is that you can click anywhere in the page and start writing so... I just plug in my blog post schedule. Another great thing about doing it this way and not on a real notebook is I can easily make changes without marking everything up. 

Underneath the calendar I put ideas for future posts that don't have a spot in the schedule yet. I also have a list building up for my end of the month favourites. 

So as you can see, it is very easy and I can keep it separate from my actual calendar (which is on my phone)!

Tuesday, May 14, 2013

Closet Organization

So as you may know, we are staying with my Dad until I finish my internship and we both get jobs and are actually able to afford to live by ourselves again... So anywhos, my bedroom here at my Dad's, I was fortunate enough to get a walk in closet. The area used to be my Grandpa's workroom and the closet a cold room so when it was renovated I inherited a cold-room-sized-closet. Perfect. I've been waiting to fully utilize this thing for years and although I'm only here temporary, I fully took advantage. So here is the set-up...


The closet is mainly mine. Brandyn got the full dresser in the bedroom and then I took over the closet and that white drawer bin. 


As you can probably see in the picture, my undergarments are in the top drawer. Then in the bottom, I have my pajamas. The third drawer has capris, shorts, and sweatpants in it. The bottom drawer is a bunch of wires and stuff that are my Dad's and I have no place else to put them. 


The top cubby is not shown. It has just random stuff in it that isn't mine. Then you see my hats. Second shelf, I have tank tops.


The next shelf has t-shirts and long-sleeves at the bottom. I only have 3 long-sleeve shirts so I just put them in with my t-shirts. Then my jeans and pants and lastly just random stuff like my kobo reader, sewing box and cameras. 


On the farthest bar, I have my shirts and blouses, light sweaters/cardigan, blazers, dresses and jerseys. I used to have my hoodies and thicker sweaters in place of the blouses but they didn't fit so I did some re-arranging. Organizing is a lot of trial and error. I also color co-ordinated each section. I will post the chart I used on the bottom. It probably doesn't look that color co-ordinated and that is because I have very little colors in my wardrobe. That is another plus about doing that.... you see what colors you tend to vibe towards in the stores. I seem to like grey. I need to buy more colors....


The upper bar has all my hoodies. See. Lots of grey. At one point, when I was a teenager, I counted 50 hoodies. I took up an entire dresser with them. I have since downgraded and I refrain from buying hoodies anymore. 


The bottom is mostly Brandyn's section. I just have light jackets on the right there and then it is all his. His isn't color co-ordinated because there is so little that I can't even. 


On the back of my door, I have my shoe rack. I also have a shoe rack outside in the hallway that holds more casual, everyday shoes. This one obviously isn't full yet. I haven't unpacked most of my shoes yet. 

Here is the color chart I used. I started at white on one end, and then finished at black!


One thing I didn't take a picture of was the other side. It is just a bunch of storage stuff. Nothing exciting and quite messy but it doesn't belong to me so I don't touch it.

But ya so that is my closet that I'm using right now. I don't think I could ever go back to a regular closet now. I love my walk in. 

Saturday, February 23, 2013

Bathroom Organization

 I posted quite a few months ago a tour of our apartment. And then I posted a little bit later that I've made some changes and I never did post updates about that... but that is OK because I made even more changes! This is what it looked like before:


Now I never took pictures of the inside of my cupboards...they were a disaster anyway. These were my problem areas: 
1. No storage space. As you can see there is one cupboard and a large windowsill. 
2. No place for toilet paper. We just kept it on the floor but Gizmo likes to eat plastic for some reason and so he would always chew on the bag!
3. That basket on the windowsill holding my stuff. I don't really like it, it is not my style. Instead I want to get some baskets to put our hair and bath stuff in.
4. Storage for my hair tools.

Alright here is the after: 


As you can see, I put the towels on the ledge. Obviously it is not the prettiest thing I can do but something I can work with for now. 


Toilet paper issue solved! I found this basket that was the perfect size to fit in between the wall and the toilet and it is nice and deep so it fits all the rolls in a regular 12 double roll package!

The inside of the cupboard.... As you can see I put the basket in the cupboard. I basically switched it with the towels. I find this a little easier for me to access it (cause I'm short) and it hides it until I can get some pretty baskets for it. Starting on the left, in the very back which you can't see, I have a makeup bag filled with all our travel sized/sample stuff. Its in the back because the only time we access it is when we are packing for trips. The shelf is a locker shelf that I've had for years and years. On the top is my makeup bin and the other makeup bag I have is filled with hair stuff. 

On the bottom, there is a blue bin I got from the dollar store. I have random stuff in there like aloe vera and extra bar soap, nail polish remover, etc. Then I have my lady stuff fitted around it. The black bag in the front is full of Brandyn's bathroom stuff and then behind it is my nail polish bag. 


So this basket has all of my bathroom stuff. In the back is sunscreen because we don't need it now. Then I have bath stuff like bubble bath and bath bombs. I don't take baths that often, that stuff tends to build up haha. Then is my hair stuff and lotion. 


This (and the toilet paper basket) are my favourite parts of this bathroom. They fixed major annoyances. I bought this off of Beyond the Rack which is a flash sale website. It has a spot for my blow dryer, hair straightener and then I shove my brushes in there as well!

The bathroom isn't perfectly organized to my liking but it works for now and since we are making a big change pretty soon, I have no plans to buy anything else since we are trying to downsize. It also goes to show that you don't always need fancy dividers or all that jazz to make something organized. You can just use stuff you may already have like... tons of makeup bags!

Monday, October 08, 2012

Coffee Can Repurposing

In this day and age, we have countless amounts of electronic devices everywhere. We also have countless amounts of chargers and cord for these devices everywhere. I hate opening my drawers and seeing a big mess of wires everywhere so after seeing an idea on Pinterest a long time ago, I got to work on my next project.


I started with some wrapping paper from wallpaper, mod podge, and a coffee can

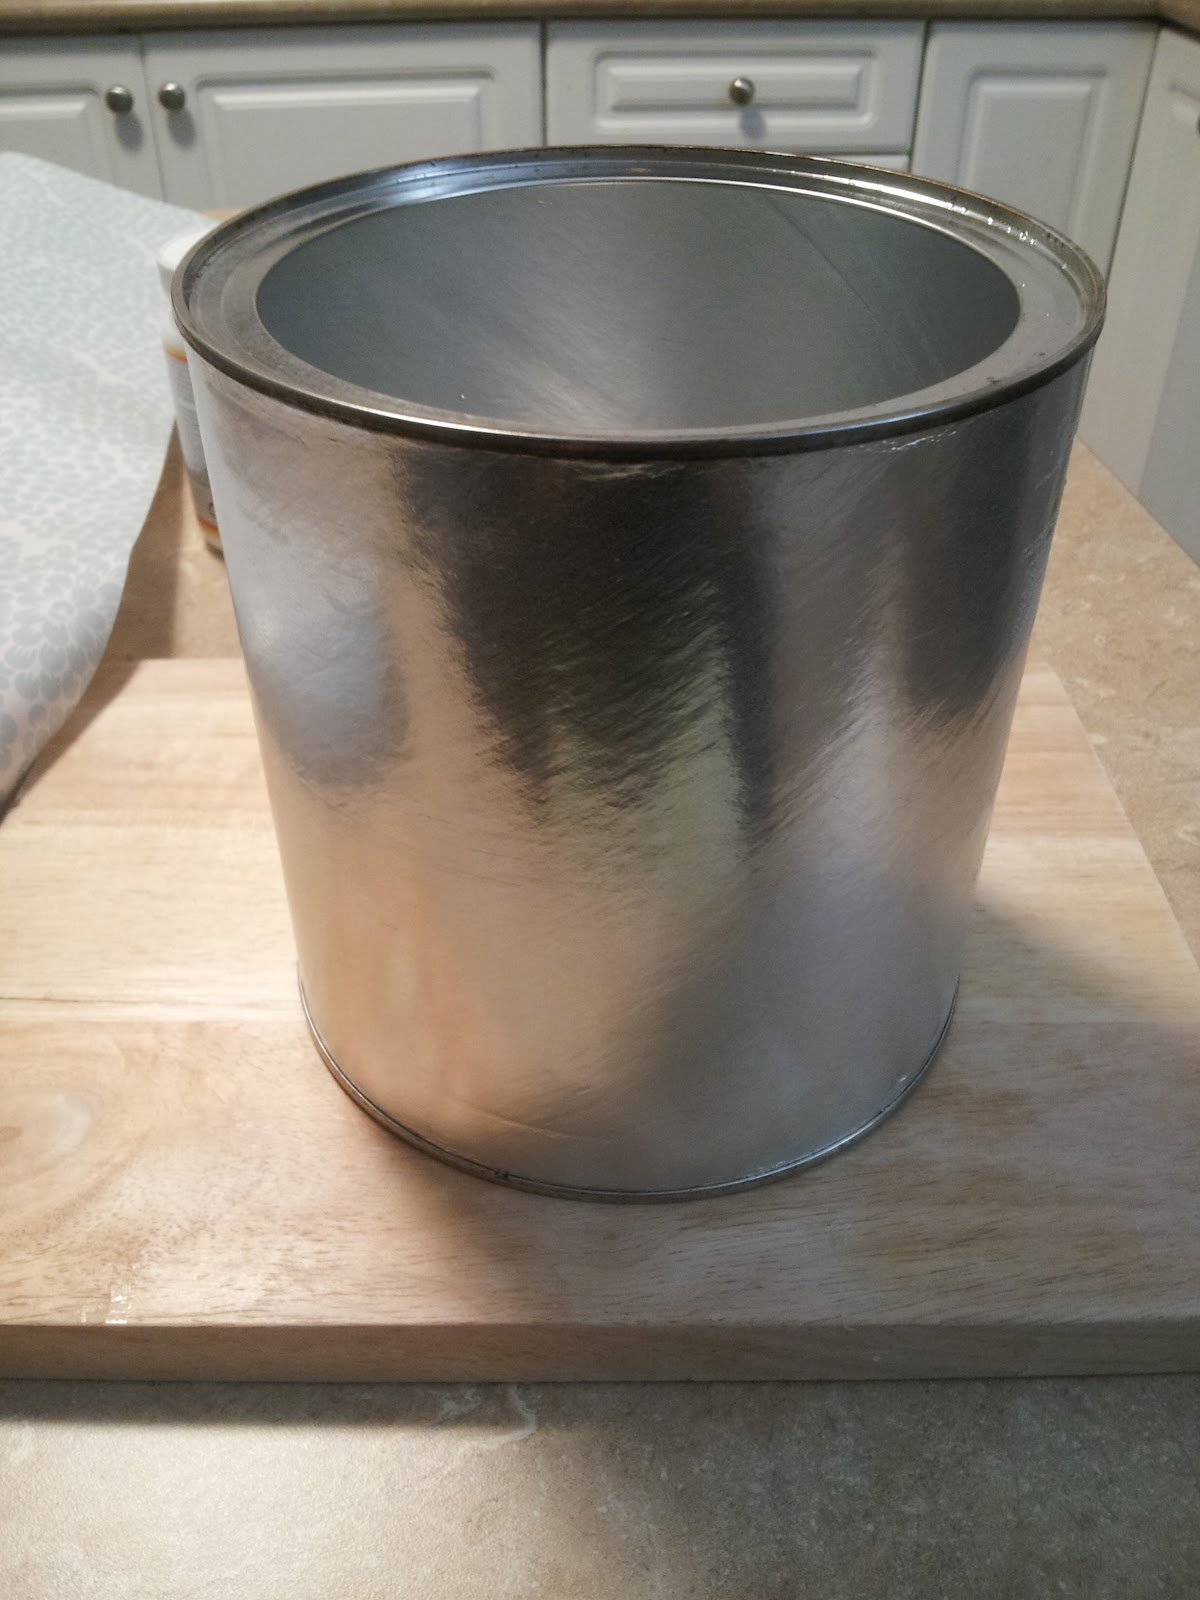
I washed and stripped the coffee can of it's paper and then placed it on the 
other side of my cutting board because I don't have a craft mat... easier clean up


I love this wrapping paper because it has grid lines on it. It's Hallmark Expressions. 
Made it so much easier for measuring and cutting.


So I measured out and cut the strip of paper

I applied the mod podge with my foundation brush --- don't be shocked it's all I had and I thoroughly cleaned it away! Anyway ... it worked. I didn't have a brush on me or a sponge.

Then, I applied the paper. I suggest you cut it a little bit bigger and then cut with an exacto knife. 
The mod podge was extremely sticky and it went on a little crooked. 


There you have it! A spot for all chargers hidden away but easy to find!

:)